
PREPARING YOUR PICTURES FOR PROJECTION AT THE PORTLAND PHOTOGRAPHERS’ FORUM
By Ron Odenheimer
There are (at least) three methods to store and bring your pictures to a PPF meeting for show.
Images on a thumb drive
Images on your computer
Images on our computer
There are some general rules and guidelines that hold for all the above.
GENERAL STUFF
IMAGE TYPE, IMAGE SIZE and COLOR SPACE
Your images can be of any size. If you want the absolute best quality, resize using a photo program, such as Photoshop, Lightroom, or Preview (on a Mac). Make the vertical 1080 pixels. The horizontal can be anything. Frankly I can see almost no difference from resizing via Photoshop or leaving the image size untouched. When you leave the image size alone, the projector does all the heavy lifting and resizes for you. If the image is absurdly large, like large panoramas or medium format, please reduce the size.
The picture does need to be JPEG and can use any color space - but sRGB is best. Using other color spaces, such as Adobe or ProPhoto allow your pictures to use a wider gamut on a good monitor or for printing but the projector will convert to sRGB no matter what.
NUMBERING THE IMAGE SEQUENCE ON THUMB DRIVES
If your images are on a thumb drive, the projector’s internal computer will rearrange you sequence unless the file names are unambiguous. To avoid any confusion please number your images with a three-digit number at the beginning of the file name, like
001-myname.jpg, 002-mynextpix.jpg or
001mypicture.jpg, 002mypicture.jpg or
001_pix.jpg, 002_pix.jpg
You get the idea. If you are using your own machine, this style of file naming is probably not necessary, but I have noticed that presenters with a lot of experience sequence their images like above, as a habit. If you use lightroom, the export function allows you to set this automatically.
WAYS TO BRING YOUR IMAGES TO PPF
1) USB THUMB DRIVE
With a thumb drive, the images are very portable, and the presenter uses the projector’s remote control to advance pictures. The presenter controls the rate the pictures are advanced and can pause a picture to talk or answer questions.
IMPORTANT—The projector will only use thumb drives formatted as FAT32. If you are not familiar with reformatting, there is tutorial at the end of this document or look at this link for help. Most newly purchased THUMB drives are already formatted this way. See some formatting tips at the end.
2) YOUR COMPUTER
Bring your laptop. Use whatever program you feel comfortable with that’s on you machine, like PowerPoint or Keynote .
Be aware that some computers require the user go to “settings” on their computer to enable projection. You will need to know how to do that on your own equipment.
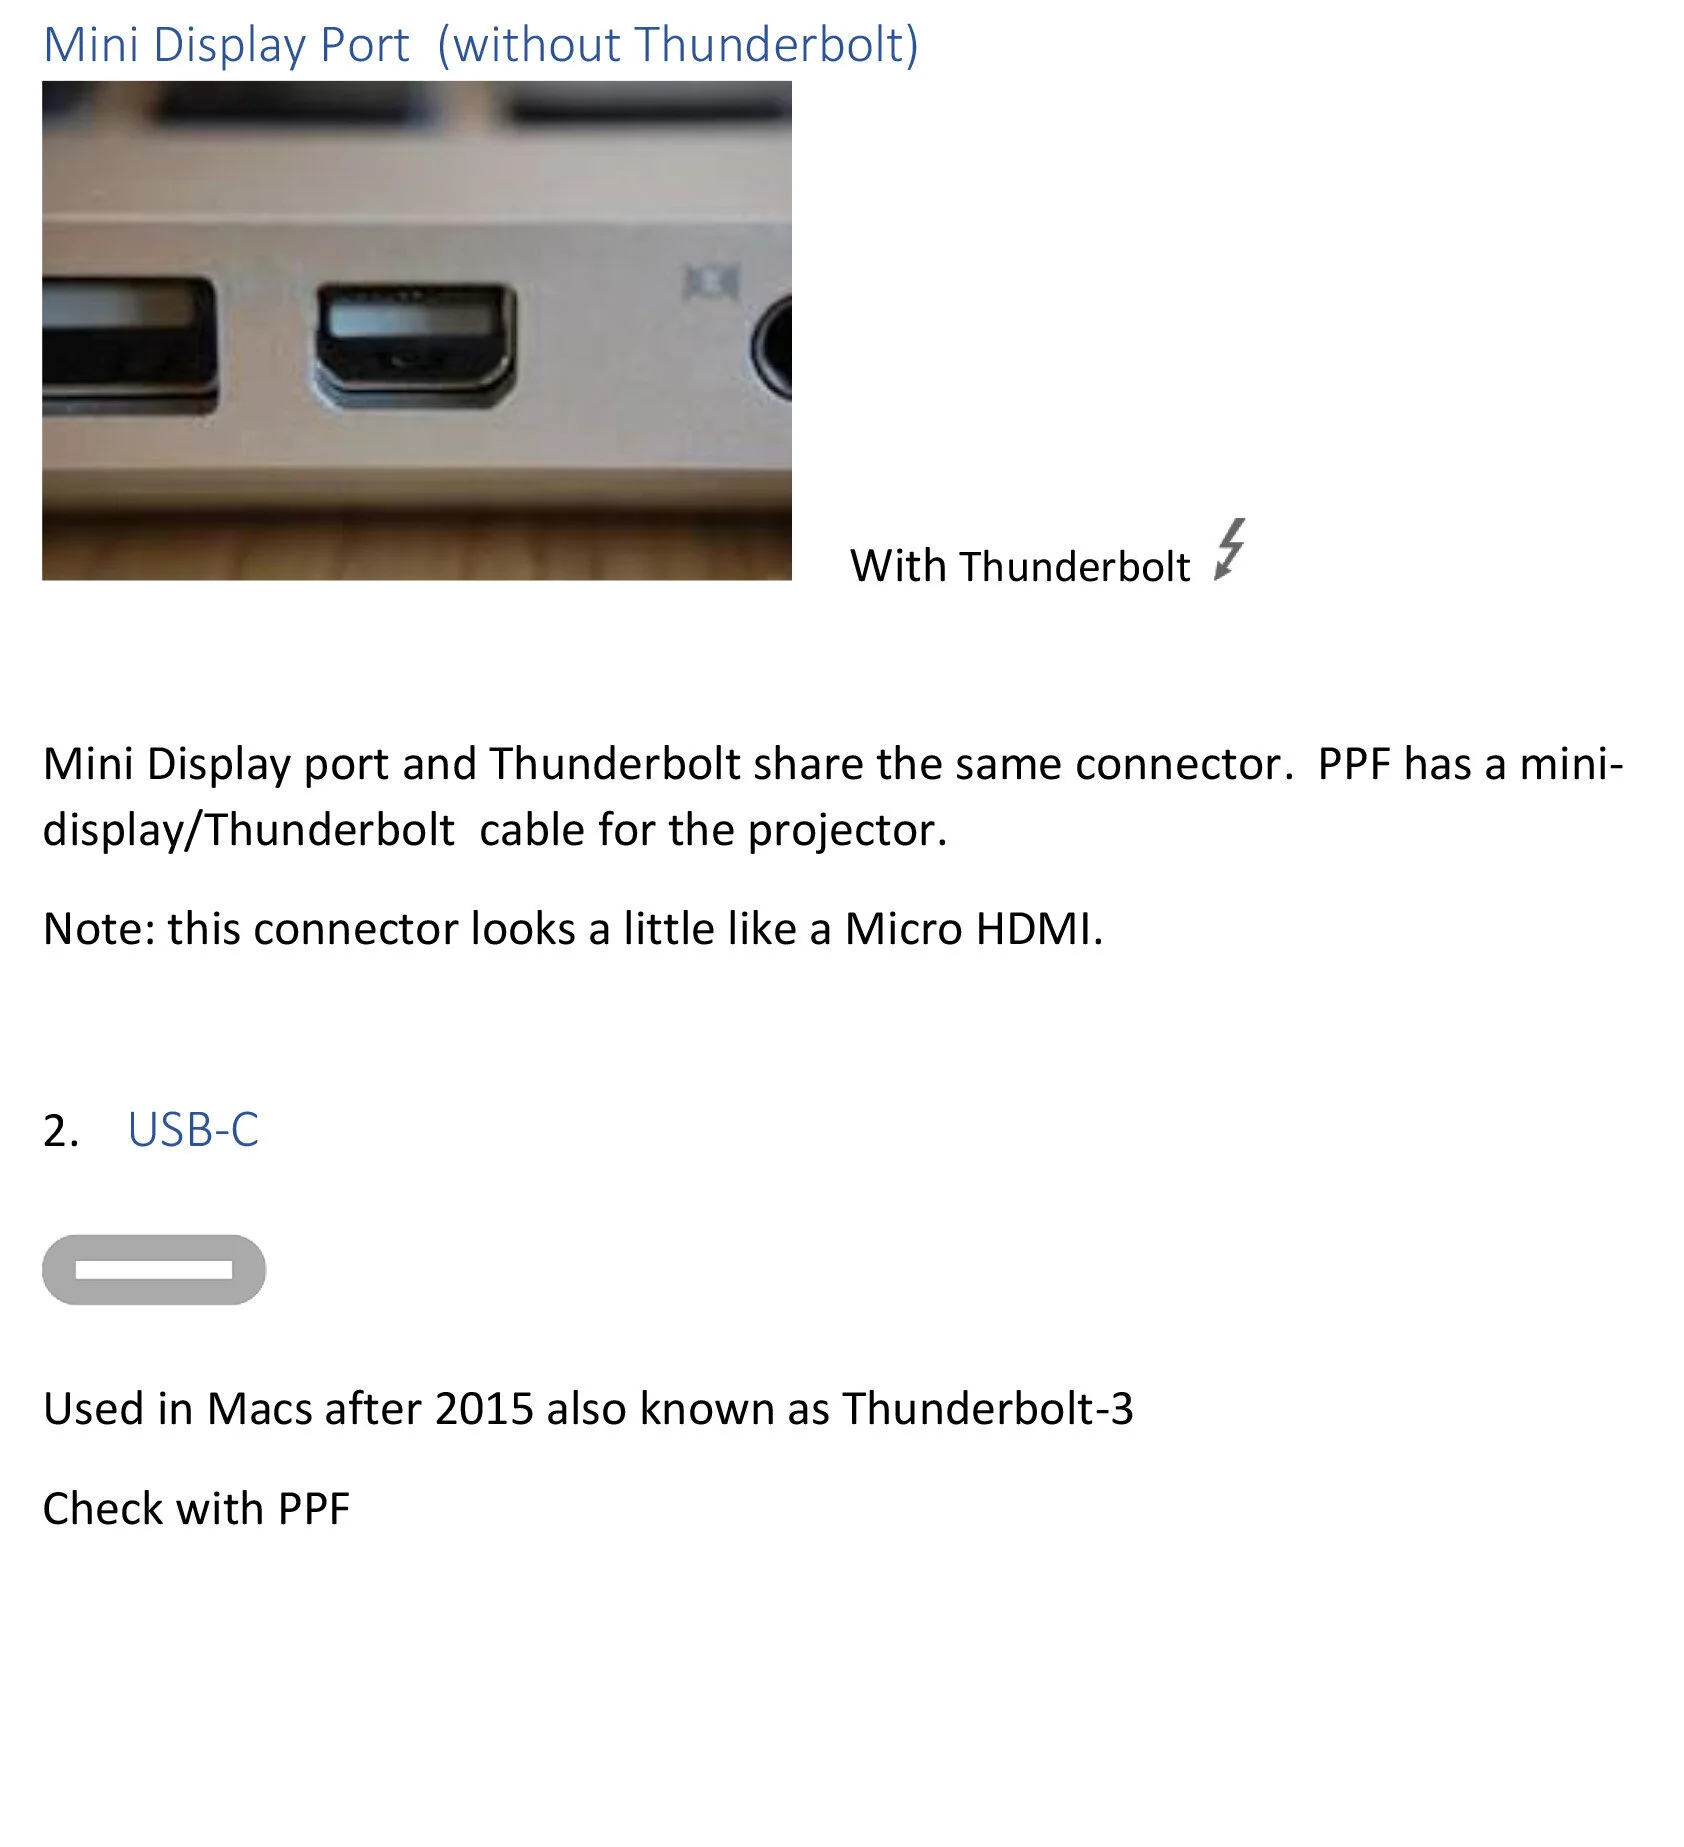
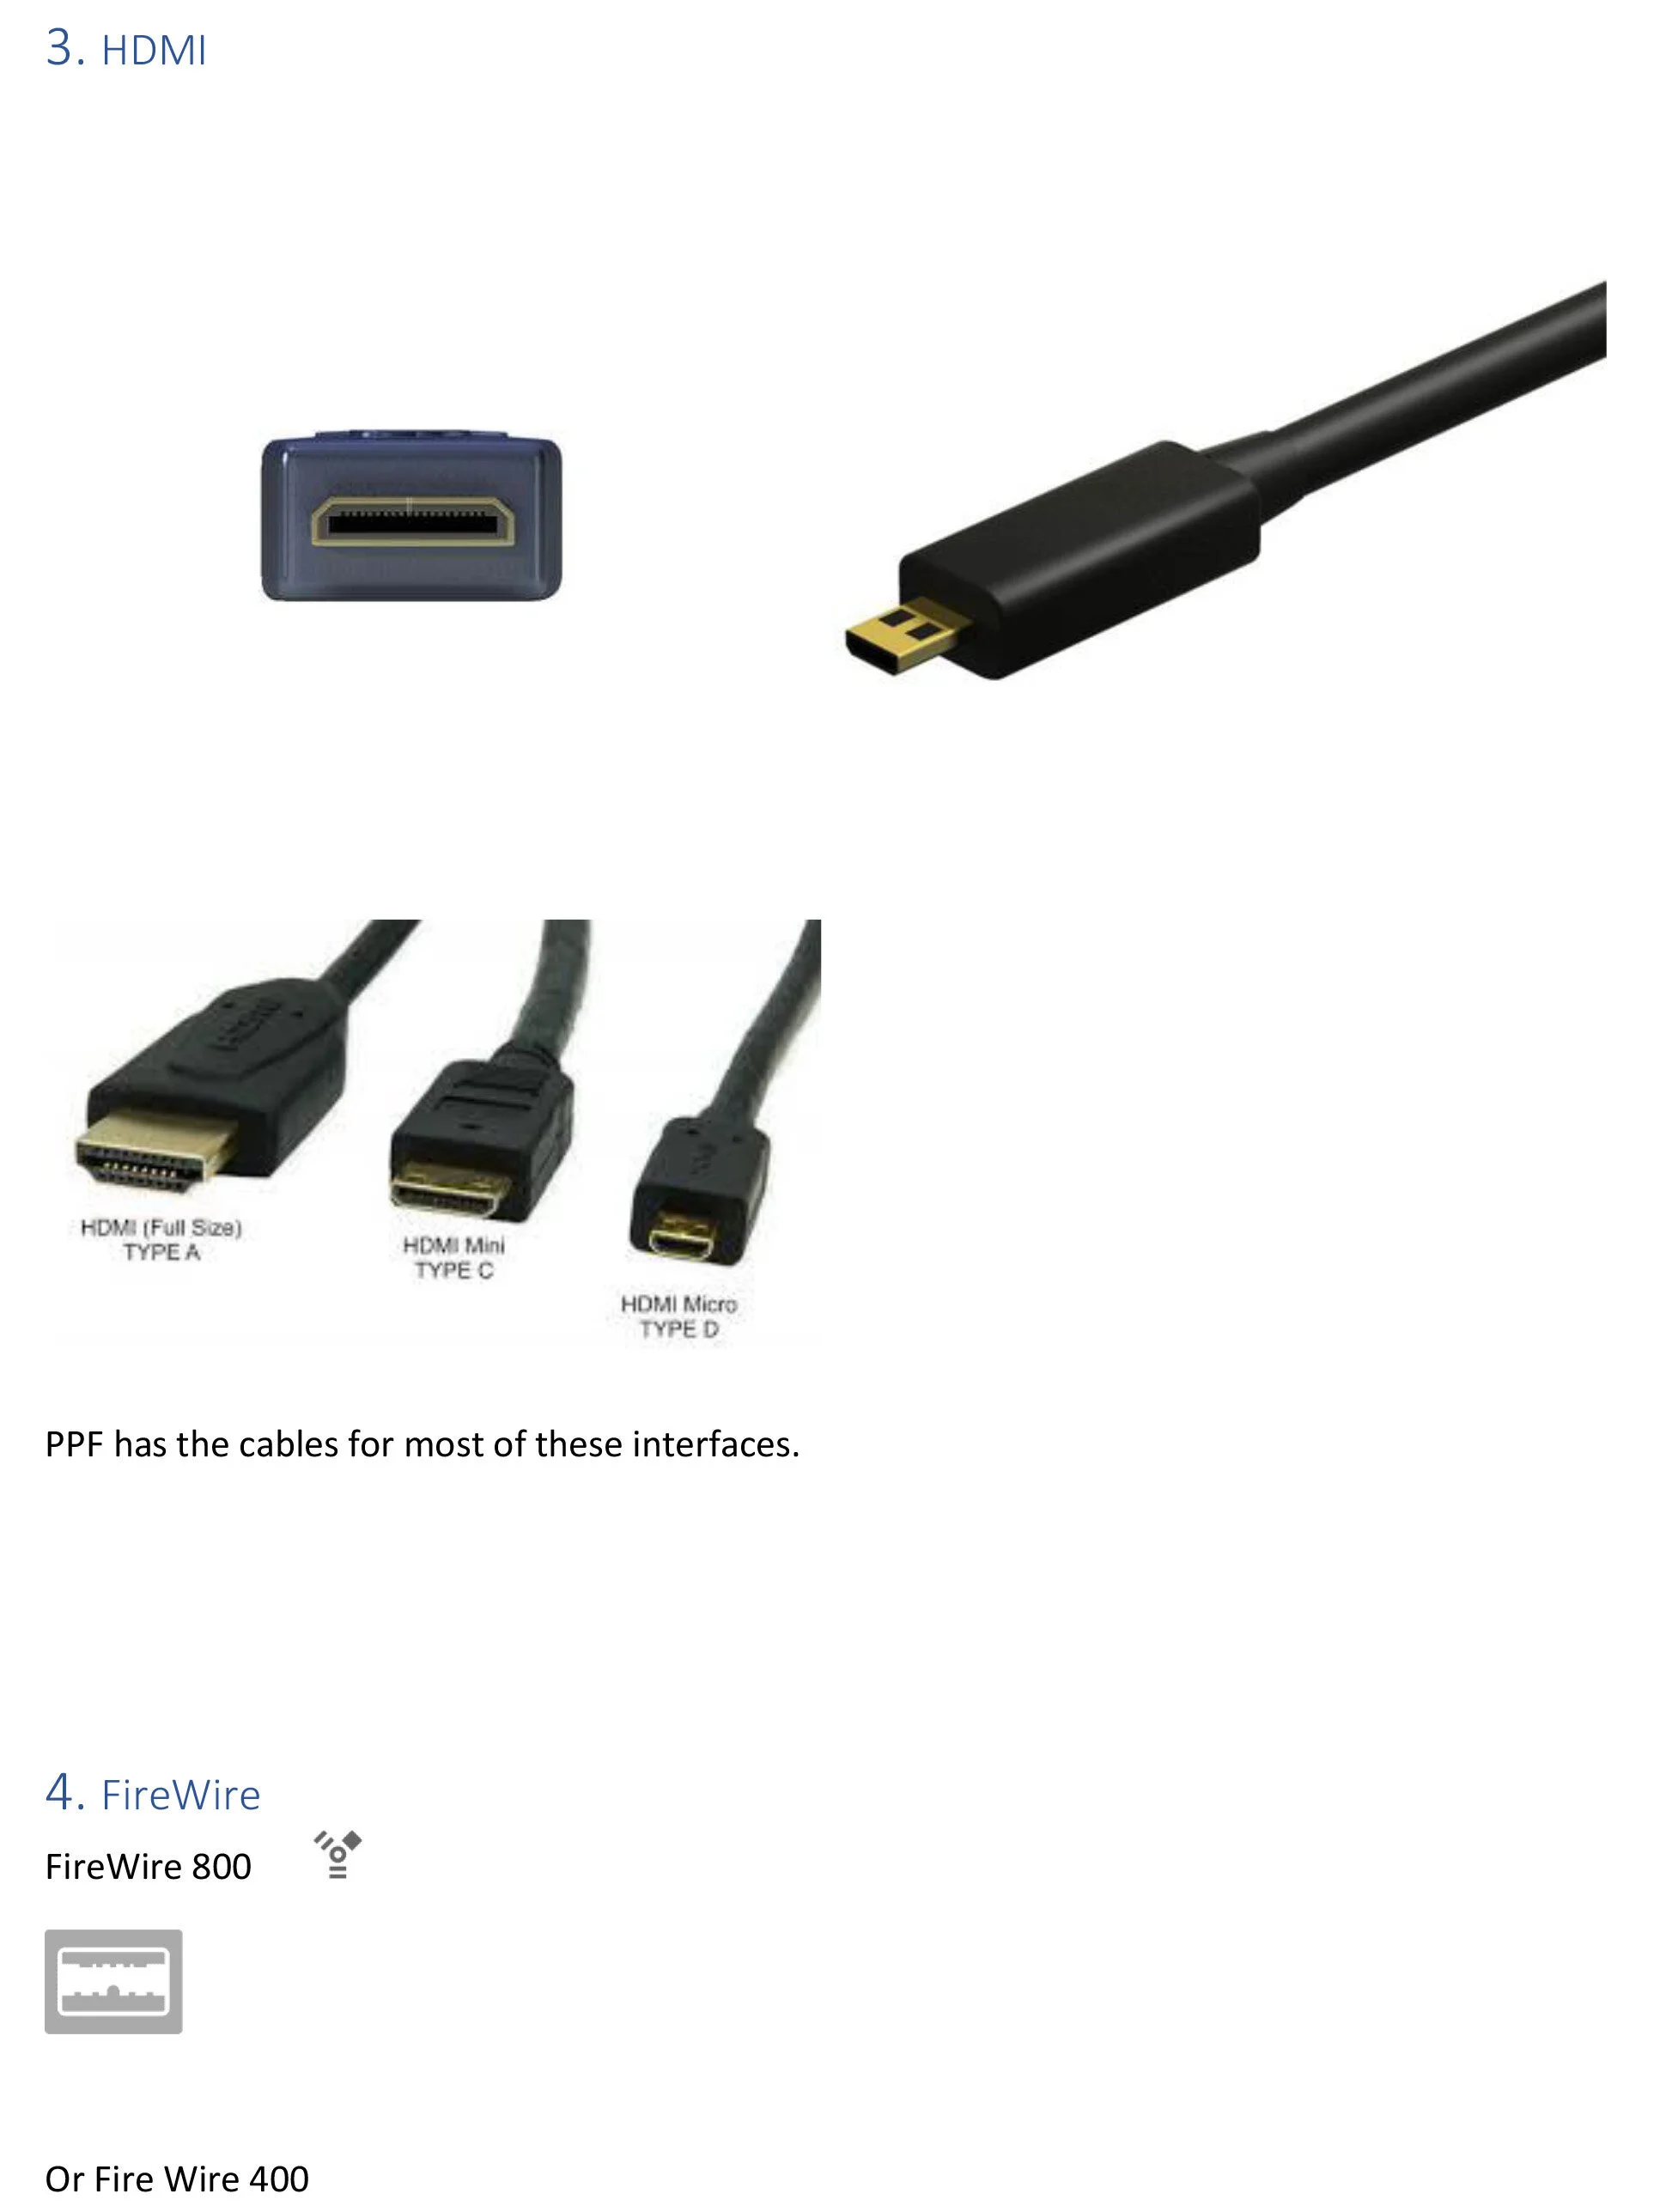
One way or another we need to find a cable to go from your laptop to PPF’s projector. There is a paragraph or two later in this tutorial to help you identify computer connectors. The PPF projector has three connect options:
Full size HDMI
VGA
USB
PPF owns many cables. Please check if we have the right one for your computer. Laptop manufacturers seem to use new connector types as easily as we look for “soup of the day” they are sometimes hard to identify.
3) USE OUR COMPUTER
PPF doesn’t own a computer, but I can bring one on request.
FAT32 FORMATTING TIPS
If you are a Mac user, the thumb drive absolutely MUST be formatted as FAT32.
Fat32 (also called ms-dos FAT) is used by all PC and the PPF projector. If you don’t know what format your thumb drive is :
If you have a PC: Insert the thumb drive. Click the file explorer icon at the bottom of your screen. It’s the picture of a file folder with a blue inverted “U”. Find the thumb drive you’ve inserted. Right click on the thumb name to bring up the “property” window. About half way down there is an entry for “File system” – it will tell you the format for your thumb.
If you need to change it search YouTube for a tutorial. But you probably won’t need to do anything.
To format a thumb drive from MAC:
Insert USB thumb drive into any USB slot
From the Finder:
Go menu -> Go to Applications folder (or CMD+SHIFT+A) -> then to Utilities -> then to Disk Utility
Select thumb drive you want to format
Click ERASE**
**IMPORTANT: ALL files on the selected USB drive will be erased-verify you don’t have valuable information on the drive before you erase it!
Click Format – choose FAT 32
Give a name to the thumb drive like “PPF pictures” – optional step
Go back to the Finder
Move your pictures to the newly formatted thumb drive.
Also see https://www.engadget.com/2011/09/19/mac-101-format-choices-for-usb-flash-drives/